Transforming your Figma designs into a Shopify store has never been easier, thanks to the right tools and plugins. With the Figma to Shopify plugin, you can seamlessly convert your designs into dynamic and responsive Shopify pages or sections without writing a single line of code.
In this guide, we'll walk you through each step of the process, from installing the plugin to customizing your design and publishing it on Shopify. Plus, we’ll give you essential tips for perfecting your Figma to Shopify design handoff.
Whether you're a designer looking to bring your ideas to life or a store owner aiming to enhance your website, this guide will show you how to do it effortlessly. Ready to get started?
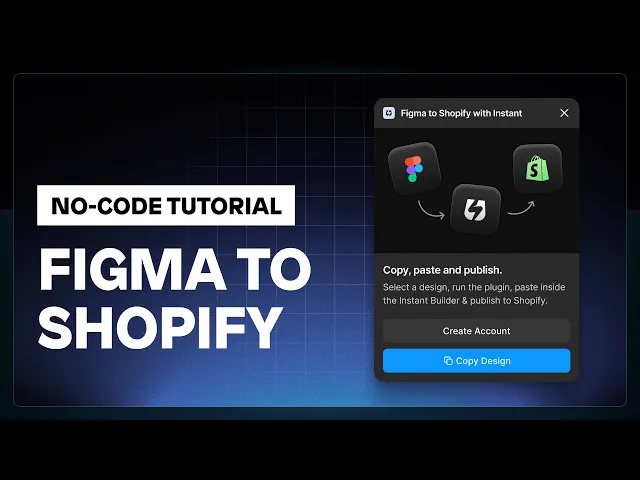
How to turn a Figma design into a website
With the help of the right Figma plugin, turning your Figma designs into an ecommerce site is easier than ever. Watch the tutorial to see how it works, or keep reading!
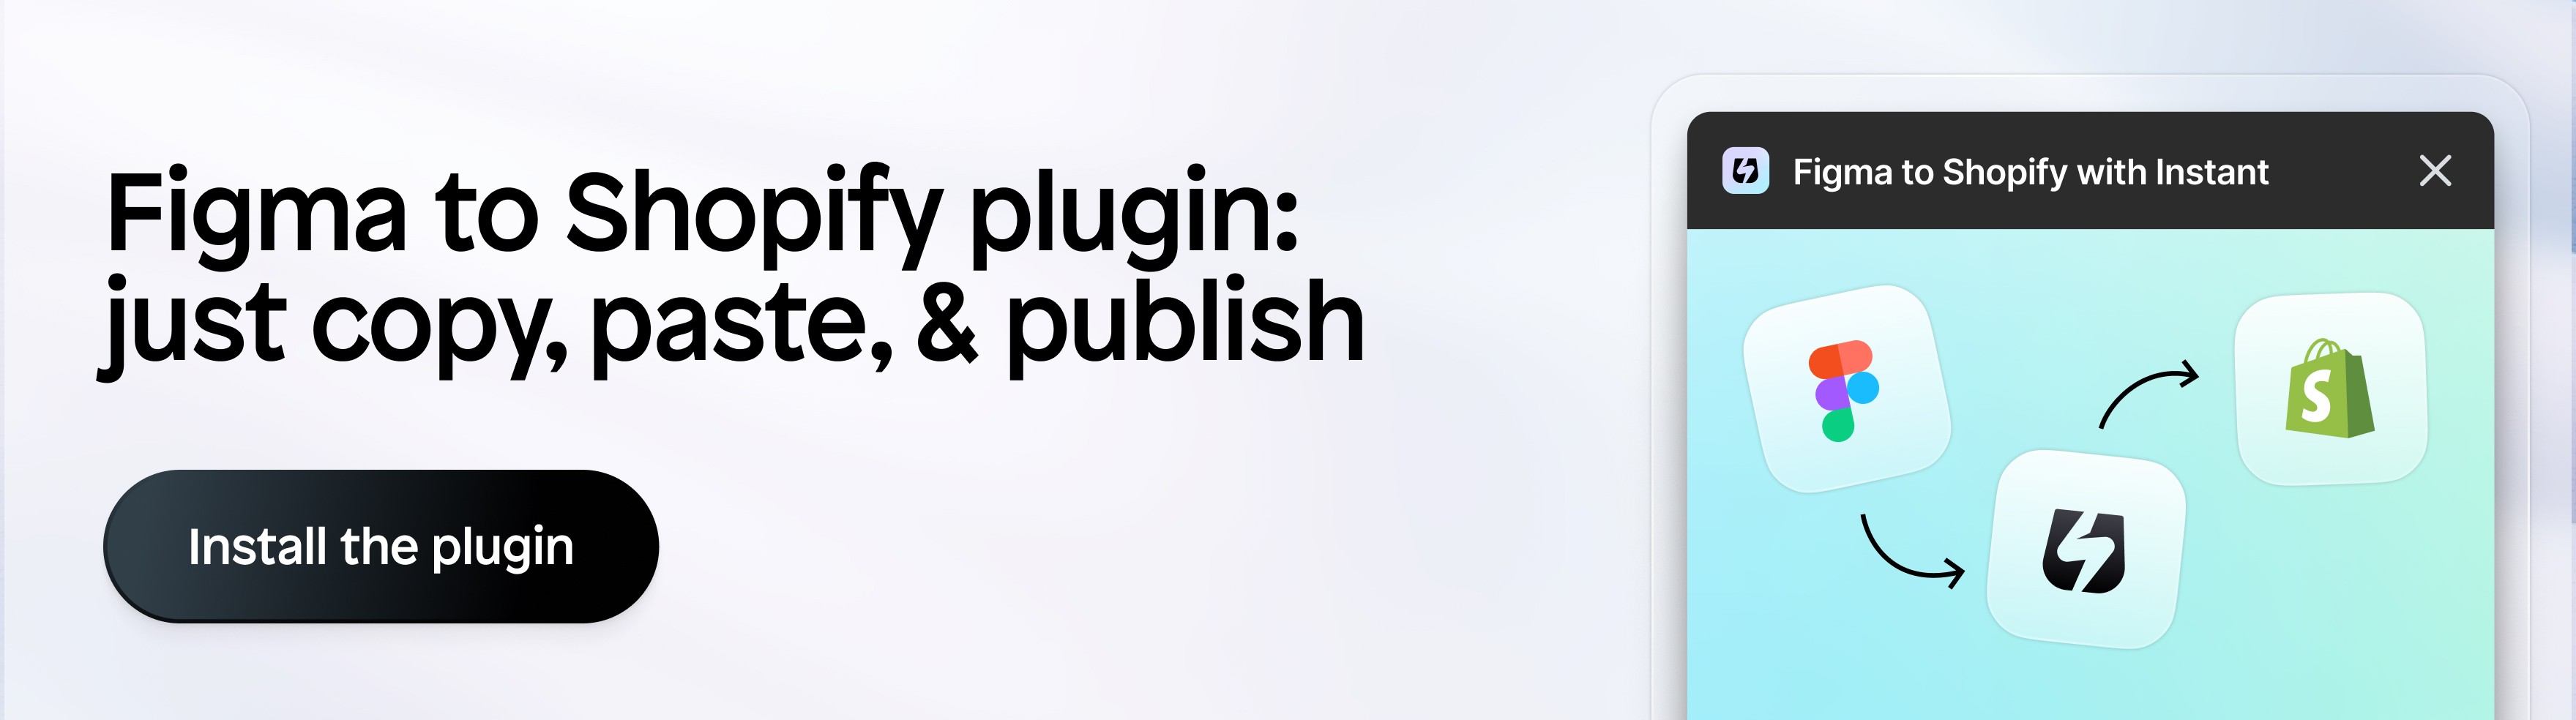
Step 1: Download the Figma to Shopify plugin
Visit the Instant plugin page:
Go to Instant's Figma to Shopify plugin page.
Click "Get the Free Plugin." This will redirect you to the Figma Community page.
Install the plugin:
Once on the Figma Community page, search for "Figma to Shopify."
Click on "Install" to add the plugin to your Figma account. The plugin is completely free to use.
Step 2: Prepare your Figma file
Open your Figma file:
Make sure your Figma file is organized and well-structured. Name all layers appropriately. For example, you might have text elements, buttons, and images arranged in separate layers.
Determine content links:
Identify the content elements that will link to specific Shopify collections or products. For instance, set buttons or images to link to specific product collections like "Skincare" or "Makeup."
Step 3: Use the Figma to Shopify plugin
Activate the plugin:
In your Figma file, go to the "Resources" tab, select "Plugins," and find the "Figma to Shopify with Instant" plugin.
Click to activate the plugin.
Copy your design:
Select your design elements in Figma, and click on "Copy Design" within the plugin. This action will copy all layers and elements.
Step 4: Paste the design into Instant
Open Instant Page Builder:
Navigate to Instant's page builder platform.
Paste the design:
Right-click within Instant and select "Paste." Your Figma design will appear in Instant, retaining all fonts, images, and elements.
Verify the import:
Check that all elements have been imported correctly and are in place. Make sure fonts and images are properly aligned and formatted.
Step 5: Customize and make your design responsive
Adjust text and image sizes:
Modify text sizes and images to suit different viewports (desktop, tablet, mobile). For example, change font sizes or adjust image fills.
Connect Shopify content:
For each element that requires dynamic content (e.g., product collections), go to the "Shopify Content" panel in Instant.
Select the appropriate Shopify data source, such as collections or products.
Set content to dynamic:
Change the content source from static to dynamic, ensuring that elements like images or text will automatically pull data from your Shopify store.
Step 6: Fine-tune for different viewports
Adjust for desktop view:
Ensure the design fits within the default width (e.g., 1200 pixels) by setting main rows to "fill" the available space.
Modify for tablet and mobile views:
For tablet view, switch layout direction from horizontal to vertical if needed, and adjust width settings to 100% for optimal display.
For mobile view, reduce gaps between elements, adjust font sizes, and fine-tune spacing.
Step 7: Add effects and interactions
Apply hover effects:
Add hover effects to buttons by selecting the button layer, navigating to "Interactions," and setting a mouse hover effect. Define changes like color shifts (e.g., from pink to white) upon hover.
Set click actions:
Assign click actions to elements that should redirect users to specific pages or collections. For example, link a button to a Shopify collection and choose to open it in a new tab.
Step 8: Publish to Shopify
Name your section:
Before publishing, give your section a name under "Section Settings," such as "Figma to Shopify."
Publish:
Click "Publish" to add your newly created section to your Shopify store.
Add the section to your Shopify page:
In the Shopify theme editor, navigate to your homepage or any page you wish to modify. Add the newly created section from the "Add Section" menu.
By following these steps, you’ll have a fully integrated Figma design within Shopify, making your website both dynamic and tailored to your original design specs. This process is not only fast but also allows for continued edits within the Shopify theme editor, providing maximum flexibility and control. Whether you are creating landing pages, product pages, or blog posts, this plugin makes it easy to bring your designs to life on Shopify!
Mastering your design handoff from Figma to Shopify with an agency or developer
If you want assistance turning your Figma designs into Shopify store pages and sections, you can also utilize the help of a developer or agency to ensure that the process runs smoothly and that the end result is responsive and mobile-optimized!
Luckily, there are dozens of skilled Figma to Shopify experts and eCommerce agencies that can assist you.
Here are some things to keep in mind when creating your Figma to Shopify workflow when working with an agency or freelancer:
1. Sharing Figma design specs with developers/Shopify experts
Start by sharing your Figma design specs. Ensure you include all necessary details like font sizes, colors, and margins. Create a shared link in Figma, which can be accessed through the "Share" button at the top-right corner of the Figma interface. Adjust the permissions to "Anyone with the link can view," allowing developers easy access.
Use the "Export" option to generate design assets. These should include all images, icons, and other necessary elements, pre-optimized for web use. Arrange these assets in a structured folder system, matching the hierarchy used in your Figma design.
It's crucial to communicate closely with developers during this phase. Regular catch-ups can help clarify design intentions and address potential issues. Utilizing messaging apps like Slack can improve real-time collaboration.
2. Cross-browser testing to ensure a responsive design
Once the design is integrated into Shopify, comprehensive testing is essential. Start with cross-browser testing to ensure the site works seamlessly across all major browsers: Chrome, Firefox, Safari, and Edge. Tools like BrowserStack can automate this process.
Check for responsive design by testing the site on various device sizes (mobile, tablet, desktop). Shopify themes are generally responsive by default, but verifying is crucial.
Pro-tip: Use Instant’s viewport feature to see how your design looks before publishing to Shopify.
Pay attention to how images, text, and layout adjust in different viewports.
Create a checklist for responsive testing:
Test on different devices
Check for aligned elements
Validate that text is scalable and readable
Ensure images resize appropriately without losing quality
Checking for any discrepancies between Figma design and Shopify implementation
Align your Figma design alongside the live Shopify site. Compare both versions to identify any discrepancies. Check for consistent use of fonts, colors, sizes, and spacing.
Create a systematic review process:
Compare each page of the Shopify site with the Figma design
Note down any visual differences
Communicate these discrepancies to your developer/expert
Implement adjustments and retest
Report findings via shared documents or project management tools like Trello or Asana for organized tracking. This helps ensure every detail from the Figma design is accurately reflected on the live site.
3. Making final adjustments based on testing feedback
After completing all tests, gather feedback from your team, users, or stakeholders. Review all reported issues and nitpicks, prioritizing fixes based on impact and frequency.
Go through the feedback process:
Collect feedback from testers
Prioritize tasks and assign them to the relevant team members
Implement changes carefully, ensuring no new issues are introduced
Retest the affected areas to validate fixes
Encourage open communication during this phase. Immediate feedback and adjustments can save time.
This comprehensive handoff process ensures a seamless transition from Figma design to a live Shopify site, maintaining design integrity and performance.
Why a seamless design-to-development handoff matters
A smooth design-to-development handoff is critical to ensure that the final product aligns with the original vision. Miscommunication or poor documentation can lead to discrepancies, which may require costly revisions.
Plus, an efficient design-to-development process reduces internal friction. When designs are handed off with complete specifications and a clear understanding of how elements should function, developers can work more efficiently. This efficiency can shave off development time and reduce errors.
How to create a Figma to Shopify workflow your clients love
For agencies who help clients with their Figma to Shopify conversion, creating a proper workflow is even easier when using Instant Page Builder:

When using Instant, Maison Commerce has found that it is easier for clients to change or edit the content to their liking.
Once they have published the Figma design in Instant and Shopify, their clients can continue to tweak the landing pages even after the project is completed.
This is helpful for both the agency and its clients; after all, the ability to edit content easily (and without needing any technical development skills) is ideal when optimizing landing pages for conversion!
Ready to launch your Shopify site?
Converting your Figma designs to a Shopify site can be seamless with the right tools and collaboration. Whether you choose to do it yourself with the Figma to Shopify plugin or work with a professional developer, you now have a clear roadmap for success. Start optimizing your designs for a responsive, engaging online store today. What part of the Figma to Shopify process do you find most challenging? Let us know in the comments!
Figma to Shopify resources:
Here are some additional resources that can help you with your Figma to Shopify process:
And this Figma to Shopify no-code tutorial video!