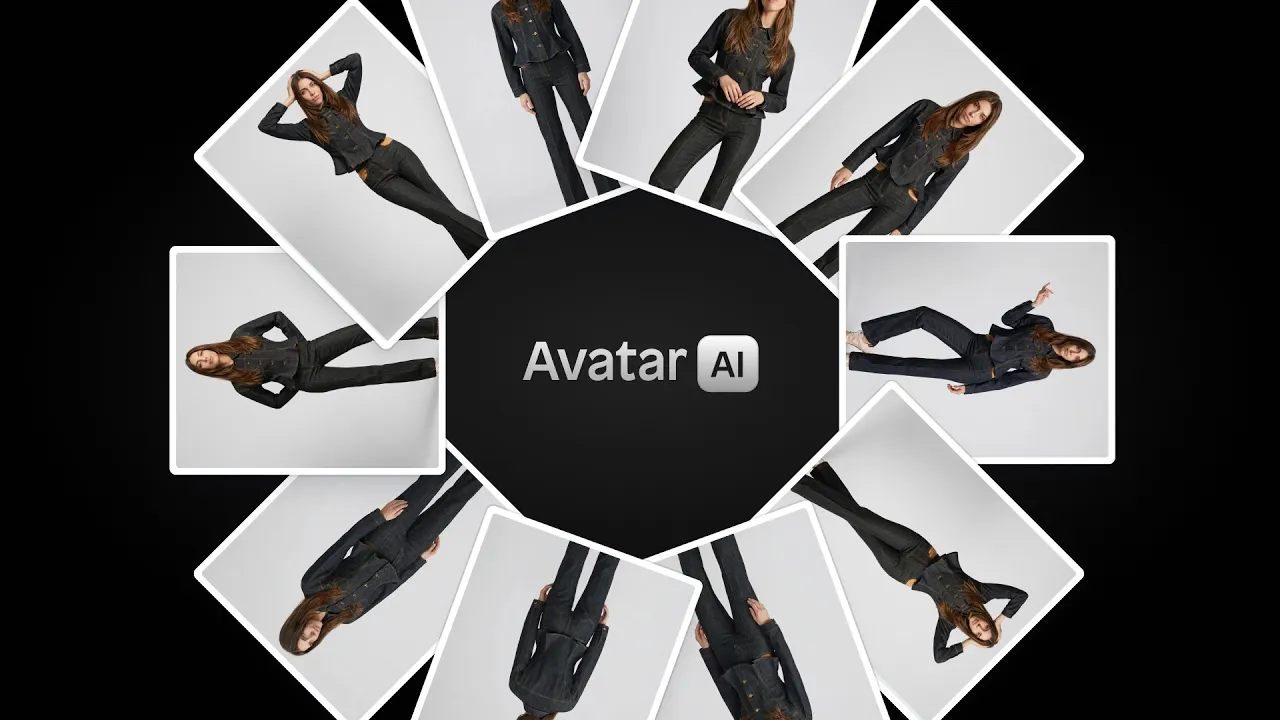
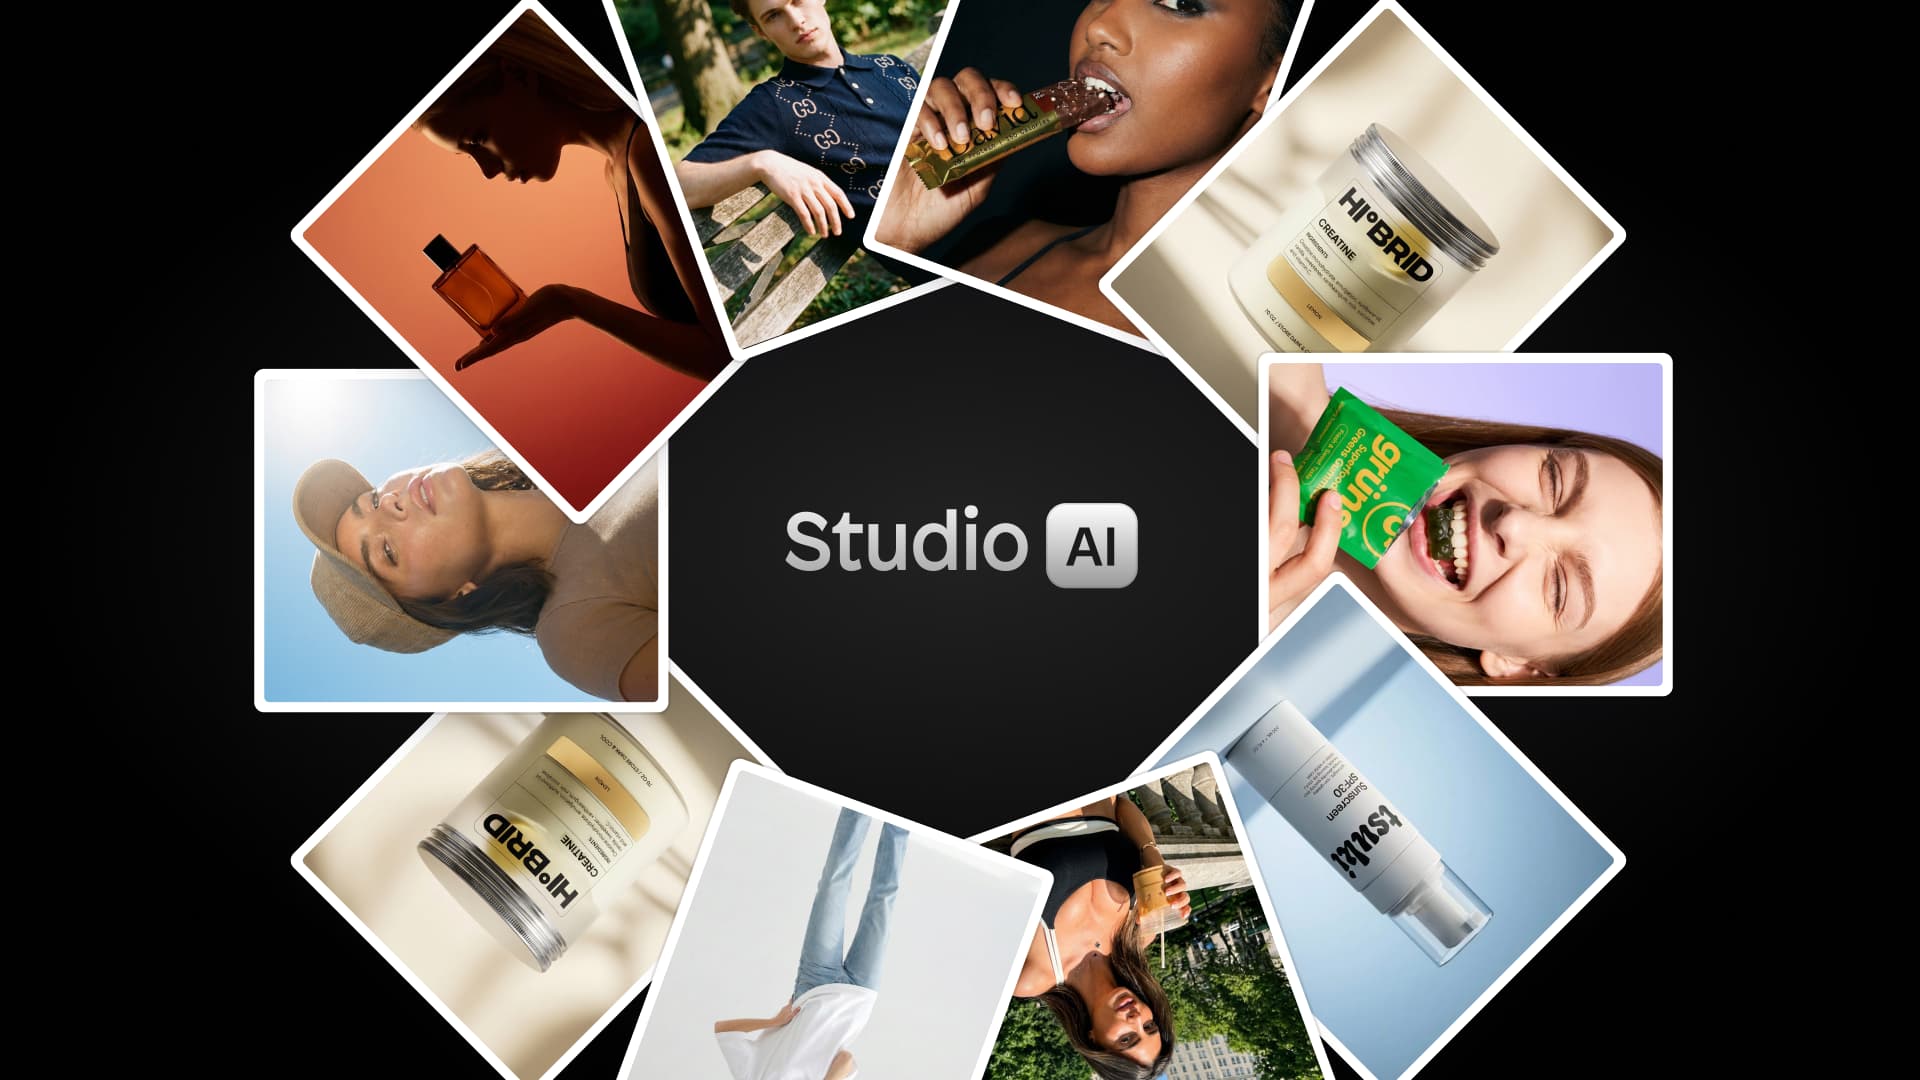
Product photography is one of the biggest ongoing costs for e-commerce brands. Booking a photographer, hiring models, renting a studio, editing the shots, it adds up fast, and that's before you factor in the time it takes to coordinate everything. AI-generated product photography has changed that equation significantly. Tools like Instant Studio now make it possible to produce consistent, high-quality lifestyle images with AI avatars, no studio required. This approach is increasingly popular in fashion, where AI product photography with models allows brands to create scalable lifestyle images without hiring talent.
This AI product model photography guide will walk you through exactly how to do it, step by step:
What is AI product photography?
AI product photography uses machine learning models to generate realistic images of your products in styled settings, on AI avatars, or against professional backgrounds using tools like an AI background generator for product photos. Instead of a physical shoot, you upload your product image and configure the scene digitally, choosing things like the model's appearance, pose, clothing, background, and lighting.
The results have improved dramatically over the past couple of years. Modern AI models like Gemini 3 Pro and FLUX can produce images that are genuinely difficult to distinguish from real photography, with accurate fabric textures, natural lighting, and consistent facial features across multiple shots.
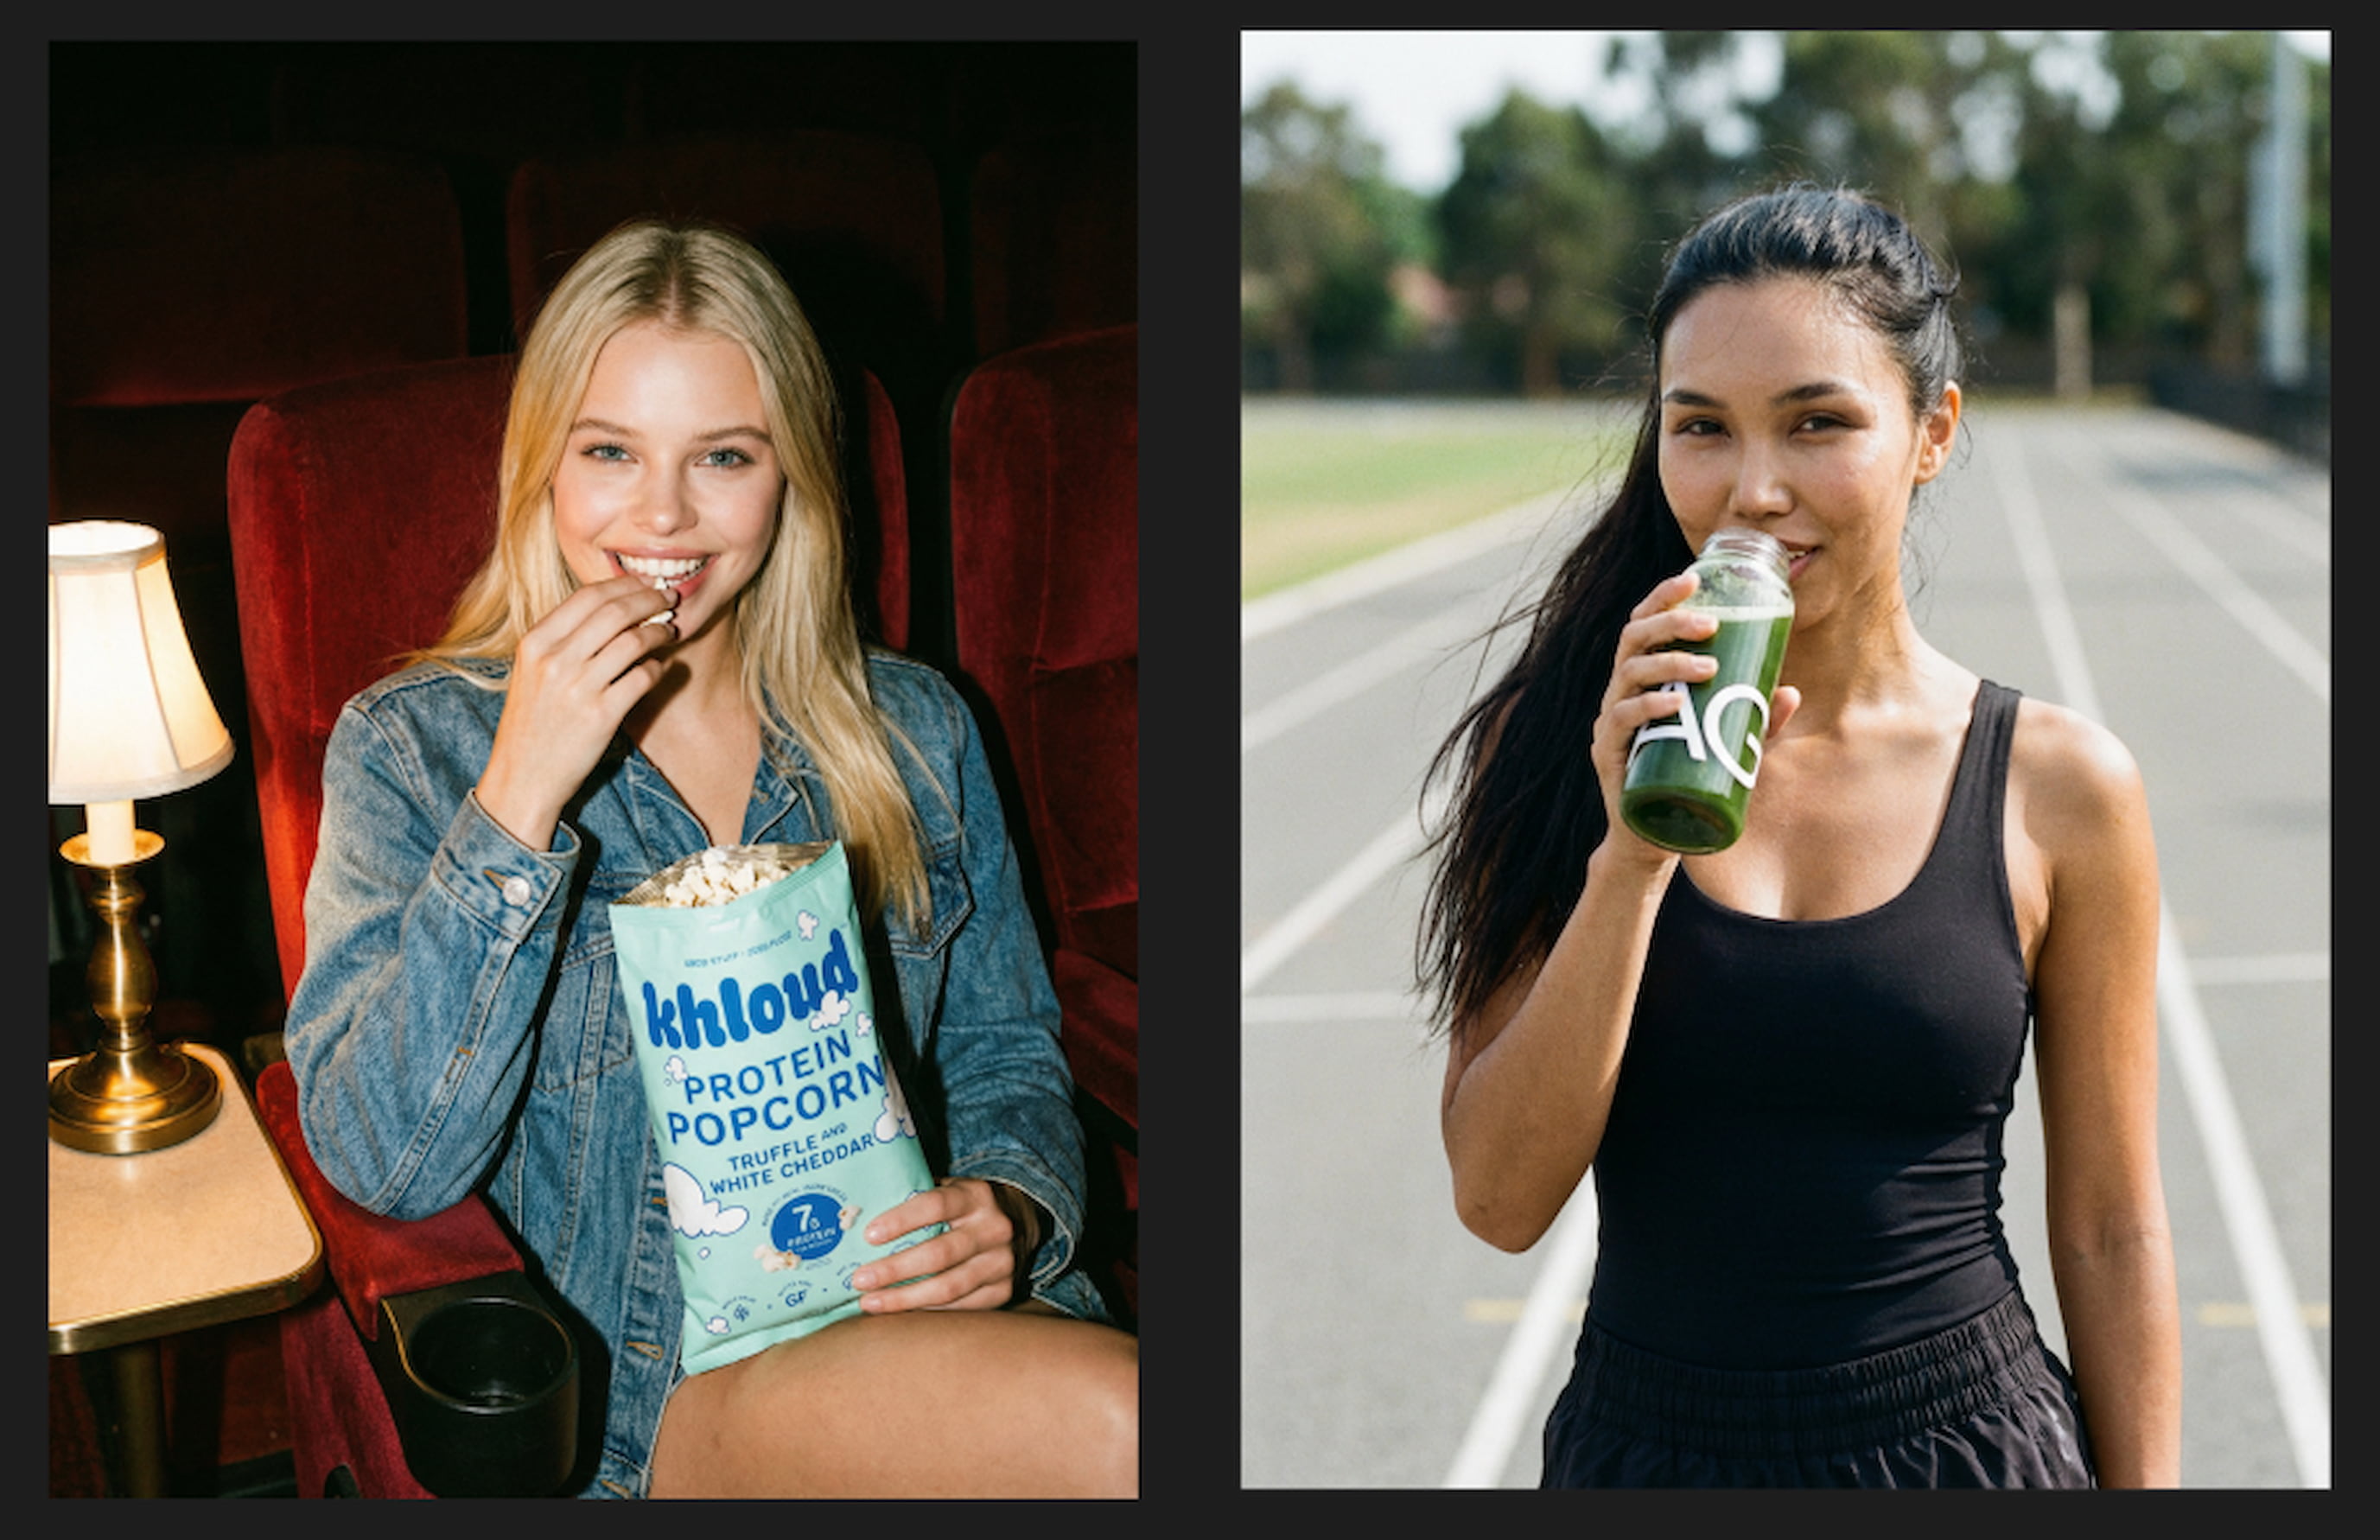
For e-commerce brands, this means you can build out a full image library for a product launch in an afternoon, test different visual styles before committing to a real shoot, and keep your content fresh without a recurring photography budget. Many brands also use AI to create lifestyle product photos that show their products in real-world contexts without organizing a photoshoot.
If you're evaluating AI photography platforms, our guide to the best AI product photography tools for 2026 compares the most popular solutions used by e-commerce brands; we recommend using Instant Studio:
What you need before you start
Before jumping into Instant Studio, have the following ready:
A product image. It doesn't need to be perfect. A clean photo taken on your phone works fine as a starting point. Instant Studio's AI will handle the transformation. You can also pull images directly from your Shopify store if you've connected it to the platform.
A clear idea of your output. Think about where these images will be used. Social media posts, website hero images, and paid ads all have different aspect ratios and quality requirements, and it's worth deciding this upfront rather than generating and resizing later.
Some sense of your brand aesthetic. Knowing whether you want clean studio shots, urban lifestyle images, or something more editorial will help you make faster decisions inside the tool.
Step 1: Open the lifestyle image editor
Inside Instant Studio, click on Create a lifestyle image to open the AI editor. This is where you'll build your scene from the ground up. You'll see a panel of settings on one side and a generation area on the other.
Everything you configure here, before you write a single word in the prompt box, will shape the final image. Take your time with these settings rather than rushing straight to the prompt.
Step 2: Choose and configure your scene
Click on Scene to choose the environment your avatar will appear in. Instant Studio offers a range of preset scenes, from studio backgrounds to outdoor locations like parks, streets, and cafés. You can select a preset or build your own by combining individual elements.
For your first attempt, a studio background is a good starting point. It's clean, versatile, and works well for most product categories. As you get more comfortable with the tool, you can explore more complex scenes.
Once you've chosen your scene, configure the following settings:
Clothing. You can select a basic clothing option from the presets, upload your own product image to dress the avatar in your actual item, or describe the outfit in the prompt. For product photography purposes, uploading your product image is usually the right move. This workflow works especially well for apparel brands creating AI product photography for fashion.
Crop. This determines how much of the avatar's body is visible. Full body works well for outfits you want to show head to toe. Upper body is better when the product is a jacket, top, or accessory worn above the waist. Close-up is ideal for jewellery, hats, or detail shots.
Expression. Choose from options like neutral, smiling, or confident. Neutral is a safe default for most product shoots, as it keeps the focus on the clothing rather than the face.
Pose. This is one of the most impactful settings. Options include hands together, static, thinking, walking, and more. Match the pose to the scene; a static pose works well for clean studio shots, while something more dynamic suits outdoor lifestyle images.
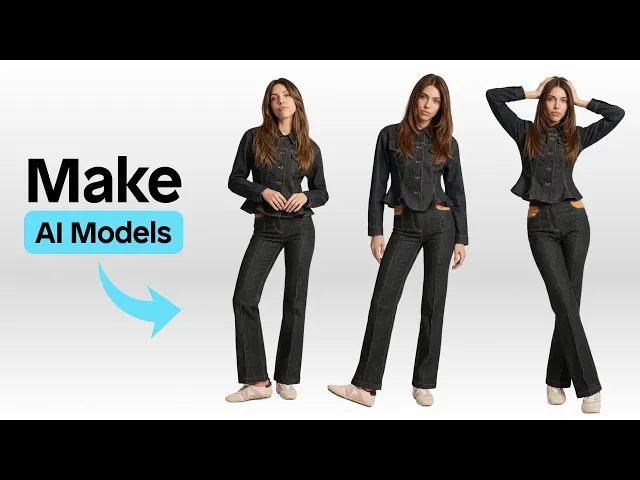
Rotation. Set the angle from which the avatar is viewed: front, three-quarter, side, or back. For clothing products, especially, generating multiple rotations gives you a complete view of the item without needing to set up a new scene each time.
Tone. If you want a vintage feel, black and white, or a specific colour grade applied to the image, set it here.
Step 3: Create and customise your AI avatar
Under the Person section, you'll find a selection of AI avatars, both male and female. Hover over any avatar to access appearance editing options, where you can adjust hair colour, hairstyle, and makeup style.
Choosing the right avatar for your brand matters more than it might seem. If your target customer is a 25-year-old woman interested in sustainable fashion, select an avatar that reflects that. If you're selling workwear to a professional male audience, choose accordingly.
Once you've selected and customised your avatar, this is the configuration you'll want to keep consistent across your entire shoot. Every image you generate with these same settings will feature the same face, the same hair, and the same overall look, which is what gives your product library that coherent, campaign-quality feel.
Step 4: Write your prompt
With all your settings configured, the prompt is where you add the details that the settings panel can't fully capture. You don't need to repeat things you've already set, like the background or pose. Instead, focus on atmosphere, specific styling details, and any nuances you want the AI to bring to the scene.
For a studio shot, you might add: "white gradient studio background, clean and high-touch fashion feel."
For an outdoor lifestyle scene, something like: "he is walking in the park drinking his coffee, natural light, grainy effect for a high-fashion editorial look, wearing light blue jeans and black shoes" gives the AI a clear sense of the mood and the supporting details you want included.
Keep prompts focused. A sentence or two is usually enough when your settings are already doing the heavy lifting.
Step 5: Set your ratio and model, then generate
Before hitting generate, set your aspect ratio based on where the image will be used. 1:1 is a solid default for e-commerce and social. 9:16 works for Stories and vertical ad formats.
For the AI model, Gemini 3 Pro is a strong choice for lifestyle images because of its ability to follow detailed instructions and produce high overall image quality. FLUX models are excellent for clean, photorealistic packshots.
Click generate and review the result. If something isn't quite right, adjust one setting or one line of your prompt rather than changing everything at once. This makes it much easier to identify what's actually driving the output.
Step 6: Build a consistent image library through iteration
This is where Instant Studio's real value becomes clear. Once you have a base image you're happy with, you can create a full set of variations without rebuilding from scratch.
Want the same model in the same outfit but from the back? Change the rotation to back and generate again. Want to see the hoodie from an upper-body crop instead of full body? Adjust the crop setting. Want a different pose? Change one setting, regenerate.
Because the avatar, scene, and most settings stay the same, each new generation is consistent with the last. You end up with a library of images that look like they came from the same professional shoot, even though they were produced individually.
For a typical product launch, you might generate: a front-facing full-body studio shot, an upper-body crop, a back-rotation shot, a three-quarter angle, and one or two lifestyle variations in a different scene. That's a complete, professional-looking image set produced in a fraction of the time and cost of a real shoot. Apparel brands can also use this workflow for specific categories, like creating AI t-shirt product photography that transforms simple flat lays into lifestyle images.
Tips for better results
To get the most out of your AI image generation with Instant Studio, keep in mind the following tips:
Upload a clean product image. Even though Instant Studio can work with imperfect photos, a clear, well-lit product image will give the AI more to work with and generally produce sharper, more accurate results that will help reduce product photography costs while still producing professional-quality visuals.
Don't skip the pose and crop settings. These two settings have the biggest impact on whether an image looks purposeful or generic. Think about what you actually want to communicate about the product and choose accordingly.
Use the prompt for supporting details, not structural ones. Describe what the settings can't cover: the mood, the secondary clothing items, and the specific atmosphere. Let the settings handle the rest.
Stick with one avatar per campaign. Changing avatars between images breaks the visual consistency that makes a product library look professional. Pick one, configure their appearance, and use them throughout.
Generate in batches by rotation. Rather than generating one image and calling it done, run through all the rotations and crops you need for a product before moving on. This keeps your workflow efficient and your settings consistent.
Conclusion
If you're wondering if AI product photography can work for your brand, it has become a genuinely practical option for e-commerce brands of any size. Instant Studio makes the process accessible by combining a straightforward settings panel with AI models capable of producing campaign-quality output. The key is understanding that the prompt is just one part of the process, the settings you configure before you write anything are equally important, and the real power comes from iterating systematically to build a complete, consistent image library. Start with one product, follow the steps above, and see what's possible.
Ready to create professional product images without the photo shoot?
Instant Studio is an AI content studio built for e-commerce brands. Upload your product, configure your scene, and generate studio-quality images in minutes, no camera, model, or studio required.
What you get with Instant Studio:
AI-generated packshots and lifestyle images from a single product photo
Realistic AI avatars with customisable appearance, pose, crop, and expression
Direct Shopify integration so your product catalogue is always ready to use
Multiple AI models, including Gemini 3 Pro and FLUX, for different image styles
Preset scenes, backgrounds, and lighting setups to speed up your workflow
Edit with AI to iterate on existing images without starting from scratch
Output up to 4K resolution across any aspect ratio or format


